Written By Shweta Ganjoo
Published By: Shweta Ganjoo | Published: Aug 30, 2023, 03:54 PM (IST)


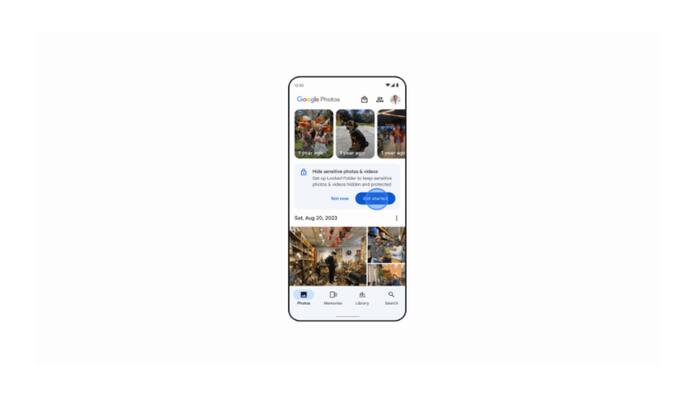
Google Photos has expanded the availability of its Locked Folder feature to more devices. The feature that first arrived on Android phones back in 2021 is now available on iOS-based devices. In addition to this, the company today announced a new backup option for Google Photos’s Locked Folder option. With this feature, Google Photos users will be able to access the images and videos that they have saved in the Locked Folder on any devices using a passcode. The feature will use Google’s cloud infrastructure for providing access to the private images and videos on any device. Also Read: Gmail update for iPhone makes sharing Google Photos easier: Here’s how
As Google Photos‘ Locked Folder option becomes available on more devices, here is a step-by-step guide that will help you setup a Locked Folder on your preferred device and enable backup option. Also Read: Top Jio plans with 2.5GB data per day
On your Android phone
Step 1: Open the Google Photos app on your Android phone.
Step 2: Go to Library and then go to Utilities option.
Step 3: Now go to Locked Folder option.
Step 4: Tap Set up Locked Folder option. You can also choose to turn on backup for Locked Folder at this time.
Step 5: Follow the on-screen instructions to unlock your device. If your folder is empty, you’ll find “Nothing here yet.”
If you don’t have a screen lock set up for your device, you will need to set one up to use Locked Folder, which will also be used as the Locked Folder password.
On your iPhone
Step 1: Open the Google Photos app on your iPhone.
Step 2: Go to Library and then go to Utilities.
Step 3: Go to Locked Folder option and then tap set up Locked Folder.
Step 4: Follow the on-screen instructions to unlock your device. If your folder is empty, you’ll find “Nothing here yet.”
If you don’t have a Face ID, Touch ID, or passcode set up for your device, you will need to set one up to use Locked Folder.
For Android phones
Step 1: Open the Google Photos app on your Android phone.
Step 2: Sign into your Google Account.
Step 3: At the top right corner of the app, tap your Profile picture or your Initials.
Step 4: Tap Photos Settings and then Backup.
Step 5: Next tap Back up Locked Folder option.
Step 6: Open Locked Folder.
Step 7: Turn Back up Locked Folder on or off.
For iPhones
Step 1: Open the Google Photos app on your Android phone.
Step 2: Sign into your Google Account.
Step 3: At the top right corner of the app, tap your Profile picture or your Initials.
Step 4: Tap the Google Photos settings and then Backup option.
Step 5: Next, tap Back up Locked Folder option and the open the Locked Folder.
Step 6: Use your Face ID, Touch ID, or device passcode when prompted and turn Back up Locked Folder on.